Choose your restaking protocol
Selecting the right protocol is the first step in cross-chain restaking. You need a platform that supports your specific assets and offers the security model you trust. The landscape includes established giants like EigenLayer and newer entrants like Everclear, each with distinct advantages for different use cases.
EigenLayer remains the primary choice for those deeply integrated into the Ethereum ecosystem. It leverages Ethereum’s existing validator set, providing a robust security layer through its native staking mechanisms. This makes it ideal for users who prioritize the highest level of security and are comfortable with Ethereum’s broader DeFi landscape. For more details on the ecosystem, refer to official EigenLayer documentation.
Everclear offers a different approach by focusing on efficiency across multiple chains. As noted in their developer resources, restaking directly on Ethereum mainnet can be inefficient. Everclear allows you to restake from any chain, reducing complexity and potentially lowering costs. This is particularly useful if your assets are spread across several networks.
| Protocol | Supported Chains | Security Model | Yield Source |
|---|---|---|---|
| EigenLayer | Ethereum Mainnet | Ethereum Validator Set | EigenLayer Points, AVS Rewards |
| Everclear | Multi-chain (Ethereum, Solana, etc.) | Cross-chain Attestations | Restaking Rewards, Network Fees |
Prepare your liquid staking token
Before executing a cross-chain restaking transaction, you must first acquire the underlying Liquid Staking Token (LST) or restaked asset that serves as the base layer for your strategy. The process begins with selecting a compatible LST, such as stETH or rETH, which represents your staked position while maintaining liquidity. This token is the primary input for most restaking protocols, and its compatibility with your target cross-chain bridge is non-negotiable.
Acquire your LST through a reputable exchange or directly via the staking provider’s official interface. Ensure the token you hold is supported by the restaking protocol you intend to use. For instance, if you are restaking on a network that natively supports Ethereum Liquid Staking Tokens, you must hold the canonical version (e.g., Lido’s stETH) rather than a wrapped or synthetic variant, unless the protocol explicitly accepts the latter. This distinction prevents liquidity fragmentation and ensures your asset can be properly verified across chains.
Once acquired, verify that your LST is held in a wallet or account that supports the specific bridge or cross-chain messaging protocol you plan to use. Some restaking platforms require your LST to be in a smart contract-compatible wallet (like MetaMask or Rabby) rather than a centralized exchange account, as they need to interact with your token balance directly. Keep a small amount of native gas tokens (ETH, MATIC, etc.) in the same wallet to cover bridge fees and transaction costs.
Finally, check the current liquidity depth of your LST on major decentralized exchanges. High liquidity ensures you can exit or rebalance your position if market conditions shift. Avoid holding LSTs with low trading volume, as this can lead to significant slippage when you eventually need to unwrap or transfer your position. This preparation step minimizes friction during the actual cross-chain execution.
Bridge assets to the target chain
Before you can restake, your assets must move from your source chain to the destination chain. This transfer happens through a cross-chain bridge, which acts as the transport layer for your capital. In cross-chain restaking, this mechanical step is where most failures occur, not in the staking protocol itself.
1. Select a compatible bridge
Not all bridges support every chain or token pair. You must choose a bridge that explicitly supports the asset you hold and the destination chain where you intend to restake. Popular options include Wormhole, Stargate, and LayerZero-based bridges. Check the bridge’s documentation to ensure it supports the specific ERC-20 or native token you are moving. Using an incompatible bridge will result in failed transactions or locked funds.
2. Connect your wallet and approve
Navigate to the bridge interface and connect your wallet. The bridge will read your balance on the source chain. Before initiating the transfer, you may need to approve the bridge contract to spend your tokens. This is a standard ERC-20 approval transaction. Ensure you are on the official bridge website to avoid phishing sites that mimic legitimate interfaces.
3. Estimate gas fees and slippage
Cross-chain transfers require gas on both the source and destination chains. Some bridges cover destination gas (gasless bridging), while others require you to hold native tokens on the destination chain for future transactions. Check the fee estimator on the bridge interface. Compare the quoted fees against the current network congestion. If the fee is unusually high, wait for lower network activity to reduce costs.
4. Initiate the transfer
Enter the amount of assets you wish to bridge. Review the details: source chain, destination chain, expected arrival time, and total fees. Confirm the transaction in your wallet. The source chain will lock or burn your tokens, and the bridge relayer will mint or release them on the destination chain. This process can take from a few minutes to several hours, depending on the bridge’s security model and network conditions.
5. Verify receipt on the destination chain
Once the transaction is confirmed on the source chain, monitor the bridge’s status page. Do not assume the transfer is complete until you see the tokens in your wallet on the destination chain. Check the balance on a block explorer to verify the receipt. If the tokens do not appear within the expected timeframe, check the bridge’s support channels or transaction hash for errors.
Delegate to the Restaking Operator
Once your asset has arrived on the destination chain, the final step is to delegate it to a specific operator. This action activates your restaking position, directing your yield and security services to the chosen validator. Without this delegation, your bridged assets sit idle and do not contribute to the restaking protocol.
1. Connect Your Wallet
Open your restaking dashboard or the operator’s interface. Connect the wallet holding the bridged assets on the destination chain. Ensure your wallet is on the correct network (e.g., Arbitrum, Optimism, or Base) to avoid transaction failures.
2. Select an Operator
Browse the list of available operators. Review their performance metrics, such as historical uptime, commission fees, and slashing history. Choose an operator whose risk profile aligns with your security preferences. Official sources like Everclear Academy provide guidance on evaluating operator reliability.
3. Confirm the Delegation Transaction
Enter the amount you wish to delegate. Review the transaction details, including gas fees and the operator’s commission rate. Confirm the transaction in your wallet. This on-chain interaction locks your assets into the restaking contract, completing the delegation process.
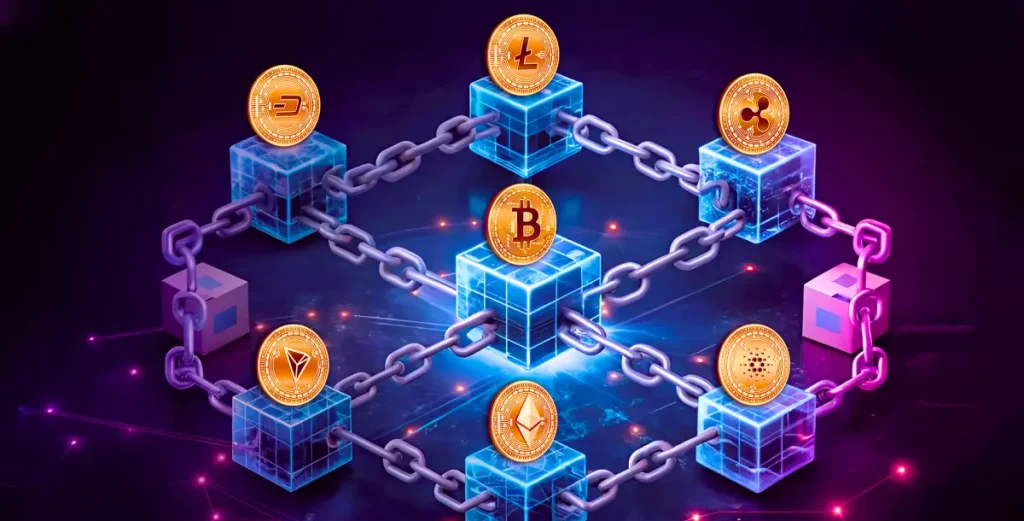
Open your restaking dashboard and connect the wallet holding the bridged assets on the destination chain. Ensure you are on the correct network.
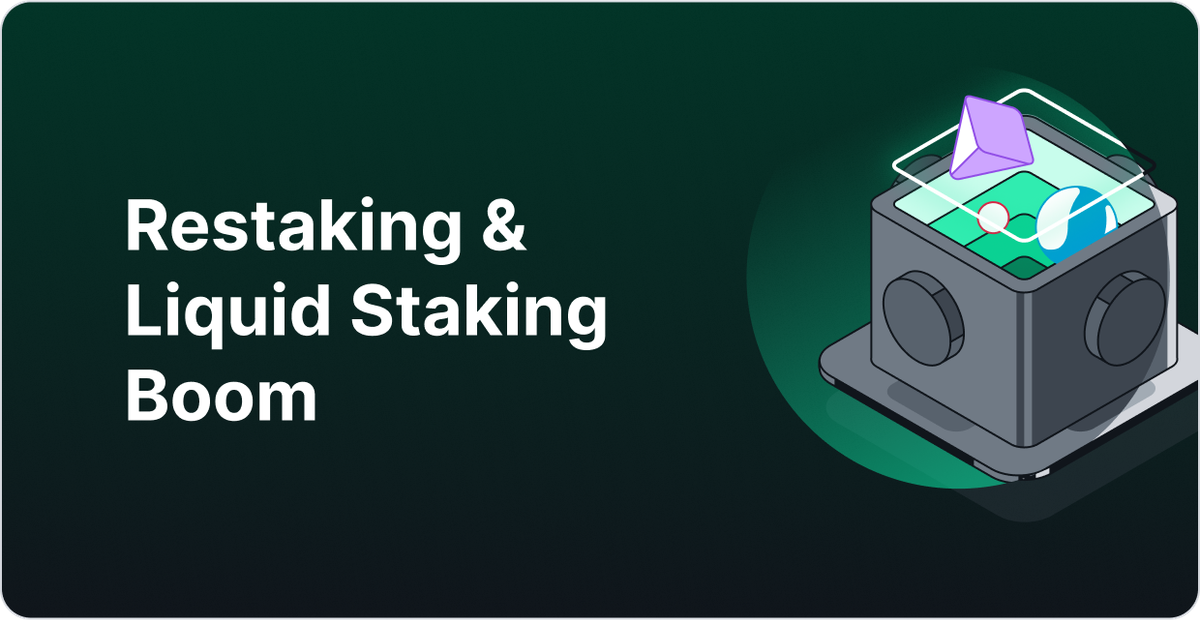
Review operator metrics like uptime and commission fees. Choose an operator that matches your risk tolerance and security requirements.
Enter the delegation amount, review gas fees, and confirm the transaction. This locks your assets into the restaking contract.
Monitor slashing and bridge risks
Cross-chain restaking introduces a dual-layer risk profile that doesn't exist in single-chain operations. You are no longer just trusting a validator; you are trusting the infrastructure that moves your assets between chains. If either the bridge fails or the validator misbehaves, your capital is exposed to simultaneous or cascading failures.
Bridge Vulnerabilities
Bridges are the most frequent attack vector in cross-chain DeFi. They act as centralized or semi-centralized custodians of liquidity, making them high-value targets for exploits. In late 2025, cross-chain bridge volumes exceeded $880 million on several days, highlighting the sheer scale of capital at risk. A single compromised private key or smart contract bug in a bridge can drain funds instantly, with no recourse for recovery.
Before bridging, check the bridge's historical security record and the number of active validators securing it. Prefer bridges with multi-signature requirements or decentralized validator sets over those relying on a single trusted entity. Never bridge more than you can afford to lose in a worst-case scenario.
Slashing Conditions Across Chains
Slashing penalties vary significantly depending on the source and destination chains. When you restake across chains, you must understand the specific slashing conditions of the consensus layer you are interacting with. A validator might be slashed for downtime on one chain but not another, or for double-signing that only triggers on the destination chain's finality rules.
Review the official documentation for both the source and destination networks. Look for clauses regarding "equivocation" and "liveness" penalties. If you are using a liquid restaking token (LRT), verify how the protocol handles slashing events. Some protocols may not fully compensate you for slashing losses, effectively reducing your yield or principal.
Monitoring Tools and Alerts
Set up real-time monitoring for both your bridge transactions and validator status. Use block explorers to track the confirmation of your bridged assets on the destination chain. If a transaction stalls, it may indicate a bridge issue rather than a simple network delay.
Subscribe to alerts from reputable security firms and bridge providers. Many bridges publish incident reports and security updates that can warn you of emerging threats. Regularly review your restaking positions to ensure your validators remain active and compliant with the slashing conditions of both chains.
Verify your restaking position
Confirming your position is the final step before you can rely on your yield. Cross-chain restaking involves multiple layers—bridging assets, delegating to an operator, and waiting for on-chain confirmation. If any layer fails, your assets may be idle or stuck.
Start by checking the destination chain explorer. Look for your staked ETH (or LST) in the restaking contract address. Ensure the status shows "active" or "delegated." If the balance is zero or the status is pending, the bridge transaction may still be processing or failed. Consult the bridge provider’s status page for real-time updates on network congestion.
Next, verify the operator’s performance. Visit the restaking protocol’s dashboard or the DAIC Capital staking trends guide to understand current operator metrics. Check that the operator is online and producing blocks. Active operators accrue yield; inactive ones do not. You can also use a block explorer to view the delegation transaction hash and confirm the timestamp matches your bridge deposit.
Finally, monitor your rewards. Restaking rewards are not always instant. Check the protocol’s reward distribution schedule. Some networks distribute rewards daily, others weekly. Ensure your wallet is connected to the correct chain to view accrued rewards. If rewards are not appearing after the expected period, contact the protocol’s support or check for any governance proposals affecting the operator.
Common questions about cross-chain restaking
Cross-chain restaking expands yield opportunities but introduces distinct risks that differ from single-chain operations. Understanding the mechanics of yield generation, security trade-offs, and technical prerequisites helps you manage exposure effectively.
Is cross-chain restaking safe?
Cross-chain restaking is not inherently safe; it adds attack surface through bridge dependencies. Security relies heavily on the underlying bridge protocol and the restaking layer’s validator set. Major bridges like Wormhole and Stargate have faced exploits, so diversification across multiple chains reduces single-point failure risk. Always audit the bridge’s historical security record before committing capital.
How are yields generated?
Yields come from two sources: the base restaking rewards on the native chain and additional incentives provided by the target chain’s ecosystem. Some protocols offer liquidity mining bonuses to attract users to newer networks. However, these extra incentives often come with higher volatility or impermanent loss risks. The total APY is rarely sustainable long-term, so focus on the underlying restaking yield as the primary return driver.
Which bridges are most secure?
In 2026, established bridges like Wormhole, Stargate, and Symbiosis remain the most widely used, but usage volume does not guarantee safety. Security models vary: some use optimistic verification, while others rely on multisig signers or zero-knowledge proofs. Review the bridge’s active fraud detection mechanisms and insurance funds. For detailed comparisons, refer to recent audits from Stablecoin Insider, which evaluates protocol risk factors.
No comments yet. Be the first to share your thoughts!