Prepare your staked assets
Before you touch any cross-chain bridge, you must ensure your ETH is already staked on Ethereum. Cross-chain restaking does not involve bridging unstaked ETH to another network to stake it there. Instead, it requires you to take an asset that is already securing the Ethereum proof-of-stake layer and pledge it to additional services.
This distinction is critical. Bridging unstaked ETH is a standard token transfer. Restaking is a specific cryptographic commitment that builds on top of existing staking positions. You cannot restake assets that have not yet been delegated to a validator or a liquid staking protocol.
The process begins with your Ethereum mainnet position. Whether you hold native staked ETH through a validator or liquid staking tokens like stETH from Lido, these assets represent your base security deposit. Cross-chain restaking protocols interact with this existing stake, often by issuing a receipt token or utilizing a bridge to move the economic exposure to another chain.
If your ETH is still in your wallet as plain ETH, you must first complete the staking process on Ethereum. Once your assets are staked and generating base rewards, they become eligible for the restaking layer. Only then can you proceed to the cross-chain infrastructure that allows this staked value to secure additional networks or applications.
Choose a secure cross-chain bridge
Selecting a bridge is the most critical step in cross-chain restaking. A bridge failure results in permanent loss of funds. You must match the bridge type to your restaking protocol, typically EigenLayer AVSs, to ensure the underlying assets remain valid and secure on the destination chain.
There are two primary bridge models: lock-and-mint and burn-and-mint. Lock-and-mint bridges hold your native assets in a vault on the source chain and issue wrapped versions on the destination. Burn-and-mint bridges destroy the original tokens on the source chain and mint new ones on the target. For restaking, lock-and-mint is often preferred because it preserves the original staking position, allowing you to maintain yield while moving liquidity.
| Bridge Type | Security Model | Capital Efficiency | Speed |
|---|---|---|---|
| Lock-and-Mint | Vault-based; requires trusted custodians or multisigs | High; native assets stay staked | Slow (7-14 days for withdrawals) |
| Burn-and-Mint | Supply-based; relies on message verification | Medium; assets must be unlocked to mint | Fast (minutes to hours) |
Verify that the bridge explicitly supports the restaked asset’s format. Some bridges only handle standard ERC-20 tokens and will reject liquid staking tokens (LSTs) or liquid restaking tokens (LRTs) because of their complex transfer logic. Always check the bridge’s documentation for supported asset lists before initiating a transfer.

Transfer assets to the destination chain
Moving your restaked assets across chains requires precision. A single misconfiguration can lock funds or result in permanent loss. You must treat the bridge not as a simple wallet transfer, but as a multi-step contract interaction that demands careful gas management and confirmation verification.
Begin by identifying the specific bridge protocol that supports your Liquid Restaking Token (LRT). Not all bridges support restaked assets, as some may reject non-native ERC-20 tokens or require specific wrapped versions. Ensure the destination chain is compatible with your restaking layer before initiating the transfer. Using an unsupported bridge often results in failed transactions or lost liquidity.
Connect your wallet to the source chain interface. You will need to approve the bridge contract to spend your LRTs, followed by the actual deposit or lock transaction. Pay close attention to the gas fees; if the network is congested, high gas prices can erode your capital efficiency. Verify the transaction hash on the explorer to confirm the assets are securely locked or burned.
Cross-chain transfers are not instantaneous. Depending on the bridge mechanism (e.g., optimistic verification or message passing), the process can take anywhere from minutes to hours. Do not attempt to re-submit the transaction while it is pending, as this may create duplicate requests. Use the bridge’s official dashboard to track the progress of your message or liquidity pool status.
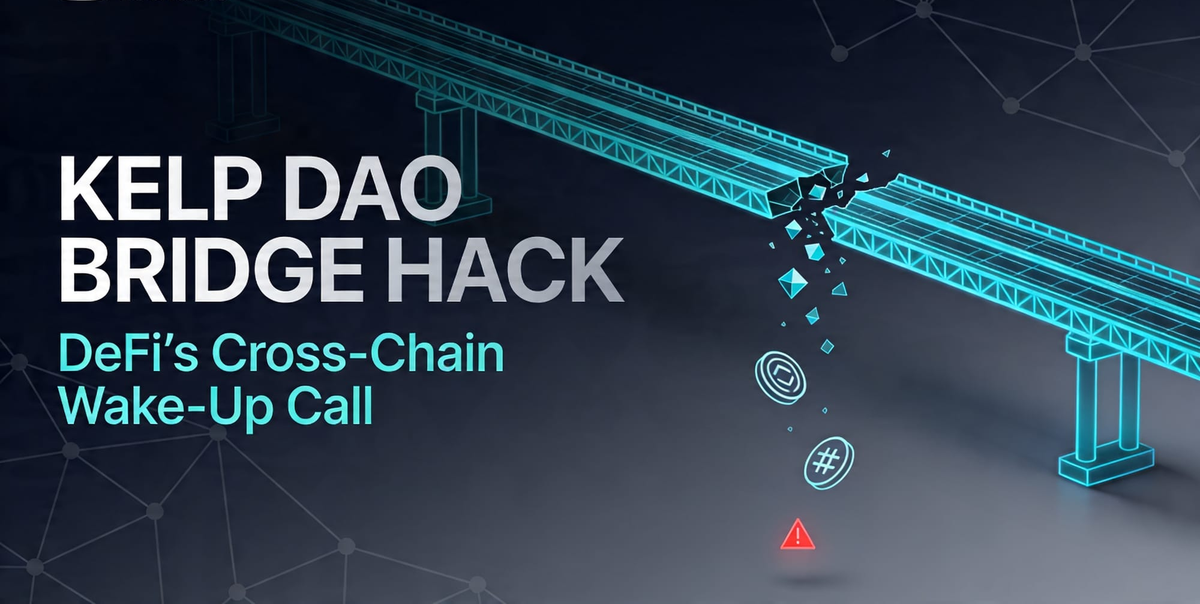
Once the source chain transaction is confirmed and the bridge status shows as "completed" or "delivered," switch your wallet to the destination network. You may need to claim the assets manually by interacting with the destination bridge contract, or they may appear automatically in your wallet balance. Always verify the token contract address to ensure you are receiving the legitimate LRT variant for that chain.
The safety of your restaked capital depends on verifying every step. Always use official bridge links found directly from the protocol’s documentation to avoid phishing sites that mimic legitimate transfer interfaces.
Delegate to an active validator set
Once your assets have arrived on the destination chain, the final step is to activate your restaking position. You must delegate your transferred tokens to an Actively Validated Service (AVS) to secure additional networks and earn yield.
Restaking allows the stake weight and validator set of one chain to be used across any number of other chains, effectively multiplying the utility of your capital [src-serp-6]. By pledging your assets to an AVS, you are not just securing a single blockchain; you are contributing to a network of services that rely on your validator's work.
Choose a Compatible AVS
Not every AVS accepts cross-chain deposits. Look for services that explicitly support the token standard you transferred. Major platforms like EigenLayer have integrated cross-chain capabilities, allowing users to restake assets moved via bridges like LayerZero or CCIP. Ensure the AVS you select is audited and has a clear track record, as your security is now tied to their specific protocol logic.
Submit the Delegation Transaction
Connect your wallet to the AVS dashboard or use a compatible restaking interface. Select the "Delegate" option and choose the validator key you wish to activate. Most interfaces will automatically detect your cross-chain balance. Confirm the transaction and pay the gas fees on the new chain. This action locks your stake into the AVS's smart contract.
Verify Activation
After the transaction confirms, check the AVS explorer or dashboard to ensure your delegation is active. Your validator should now be contributing to the AVS's consensus or data availability tasks. You will begin receiving restaking rewards, which typically combine base layer staking yields with AVS-specific fees [src-serp-1]. Monitor your position regularly, as AVS requirements can change with protocol upgrades.
Monitor slashing and bridge risks
Cross-chain restaking amplifies exposure to two distinct failure modes: bridge exploits and cross-chain slashing conditions. When you restake assets across chains, you are not just securing one network; you are trusting the communication layer that connects them. If that layer breaks, your capital is at risk.
Verify bridge audit history
Before transferring restaked assets, treat the bridge as the most vulnerable point in your stack. Bridges are high-value targets for exploits because they hold large pools of locked liquidity. You must verify the audit history and security track record of the specific bridge you intend to use. Do not rely on the underlying chain’s security; the bridge operates as a separate trust assumption. If a bridge has no recent audits or a history of incidents, avoid it entirely. This verification step is non-negotiable for safe cross-chain operations.
Understand cross-chain slashing
Slashing in a single-chain environment is clear: if your validator misbehaves, you lose stake. In cross-chain restaking, the conditions are more complex. An action that is valid on the source chain might be interpreted as a fault on the destination chain, or vice versa, depending on how the messaging protocol handles consensus proofs. You need to understand the specific slashing conditions of the Active Validator Sets (AVS) you are supporting. If the bridge fails to deliver a valid proof, your validator could be slashed for "inactivity" or "equivocation" even if you acted correctly. Monitor the bridge’s uptime and proof delivery status closely.
Set up real-time alerts
Passive monitoring is insufficient for cross-chain restaking. Configure real-time alerts for your validator nodes and the bridge contracts you interact with. You should receive immediate notifications if:
- Bridge transaction volumes drop unexpectedly, signaling potential congestion or failure.
- Your validator’s status changes to "slashed" or "downtime" on any connected chain.
- The bridge’s security council announces a pause or upgrade.
These alerts give you the window to act, whether that means withdrawing from a risky bridge or adjusting your validator configuration before a penalty is applied. Ignorance of a bridge failure is not a valid defense against slashing penalties.
Verify your restaking position
Once the transaction confirms on the destination chain, you must validate that your stake is actively securing the intended Application Specific Validator (AVS). A successful transaction receipt is not enough; you need to confirm the state changes are reflected on-chain.
Start by checking the AVS dashboard or the restaking protocol’s interface. These tools aggregate data from the destination chain and should display your staked balance and any accrued yields. If the platform uses cross-chain messaging, such as Chain Signatures, ensure the monitoring status shows "active" rather than pending or failed. This confirms the protocol has received and processed your stake data from the source chain.
Next, verify the yield crediting mechanism. Most restaking protocols credit rewards directly to your wallet or a dedicated reward contract. Check your wallet balance against the protocol’s published reward schedule. If you do not see the expected yield after the first distribution cycle, check the transaction hash on the destination chain’s block explorer to ensure the reward claim was executed.
Finally, review the slashing conditions and uptime requirements for the AVS. Understanding what triggers a penalty helps you interpret your position’s health. If your node or validator is offline, your position may be at risk, regardless of whether the staking transaction completed successfully.
No comments yet. Be the first to share your thoughts!